

How to crochet a foundation chain (step-by-step for beginners)
Step by step instructions Let’s get started Tension is very important. The yarn must be able to glide smoothly from your left hand to the working project — not
Step by step instructions
Let’s get started
Tension is very important. The yarn must be able to glide smoothly from your left hand to the working project — not too tight and not too loose.
You will need the following:
- Wool / yarn suitable for a 4mm hook
- 4mm crochet hook
- Scissors
- Darning needle
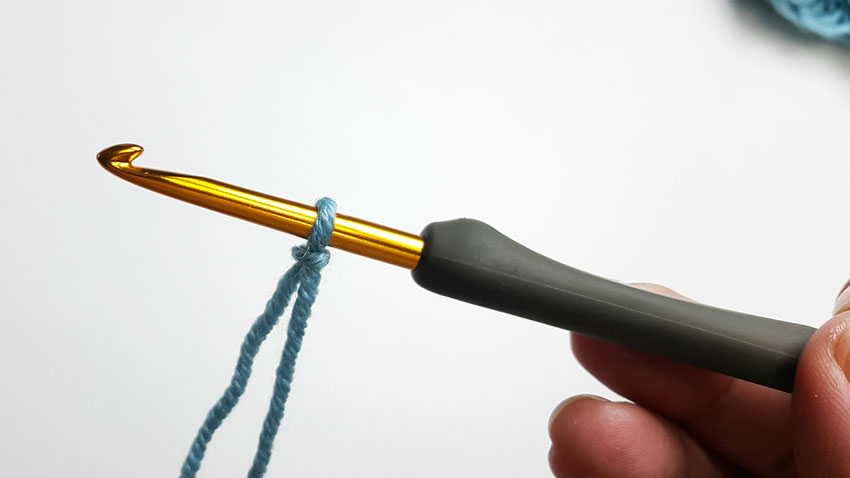
Step 1: Start with a slipknot. Prepare your yarn tension with your left hand (or right, depending on your orientation).
Step 2: Hold the slipknot with your thumb and middle finger, using your index finger to control the tension. With the hook in the loop, yarn over and pull up a loop.
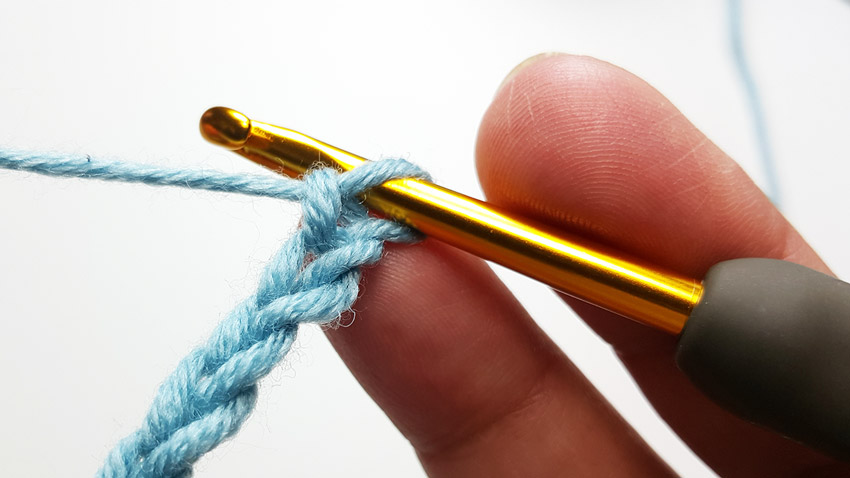
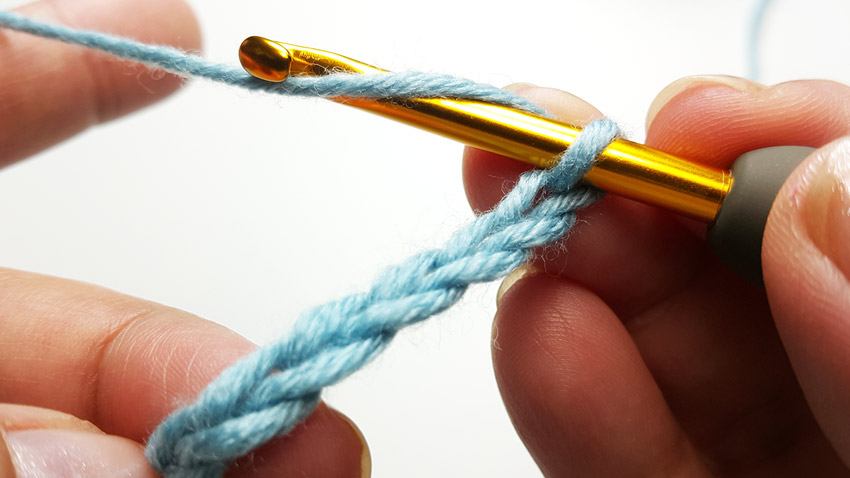
Step 3: That’s it — this is the crochet chain stitch.
- Repeat Step 2 to achieve your desired number of chains.
- Every chain is made the same way using yarn over and pull through.
© Crafting with Beth.
This pattern describes a common crochet technique. While crochet stitches and methods are not copyrightable, the written instructions, photographs, and explanations on this page are original and protected by copyright.
Made with care and shared with love. You may sell finished items made from this pattern, but please do not copy, reproduce, or redistribute the written instructions.
Please credit Crafting with Beth when sharing your work.